Raw Chocolate Mousse & Peanut Butter Cakes

10646960_10152794064374388_4237813333416796888_n

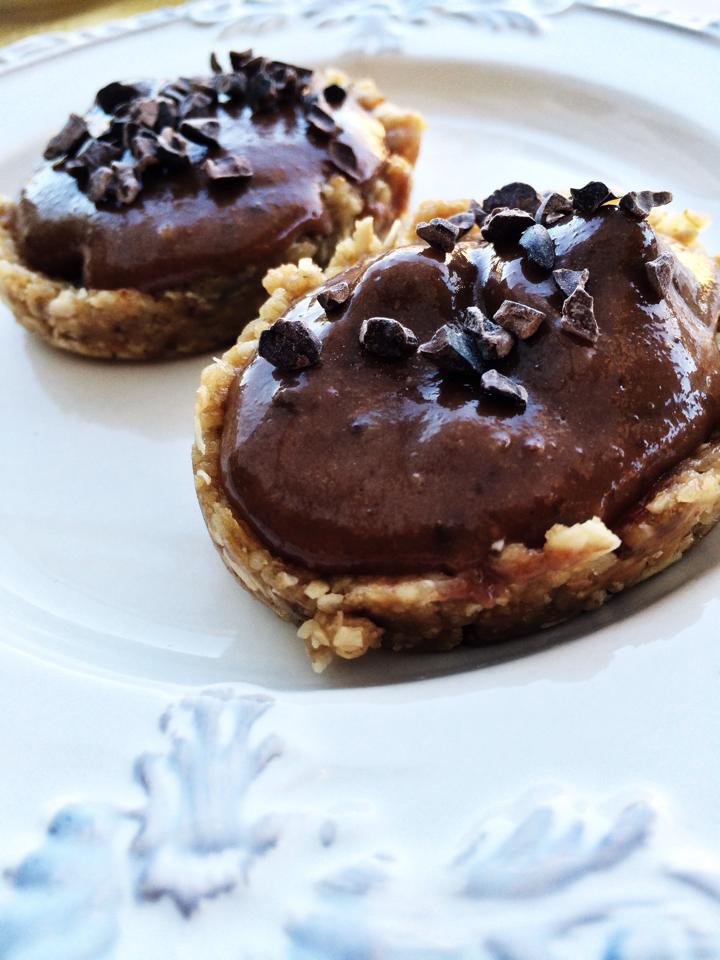
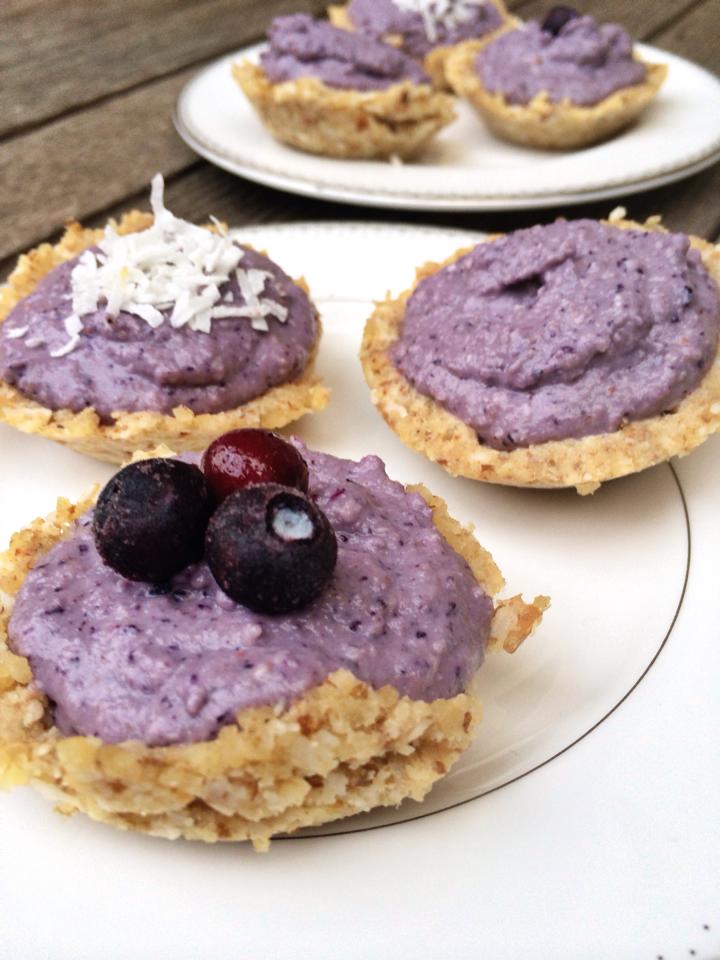
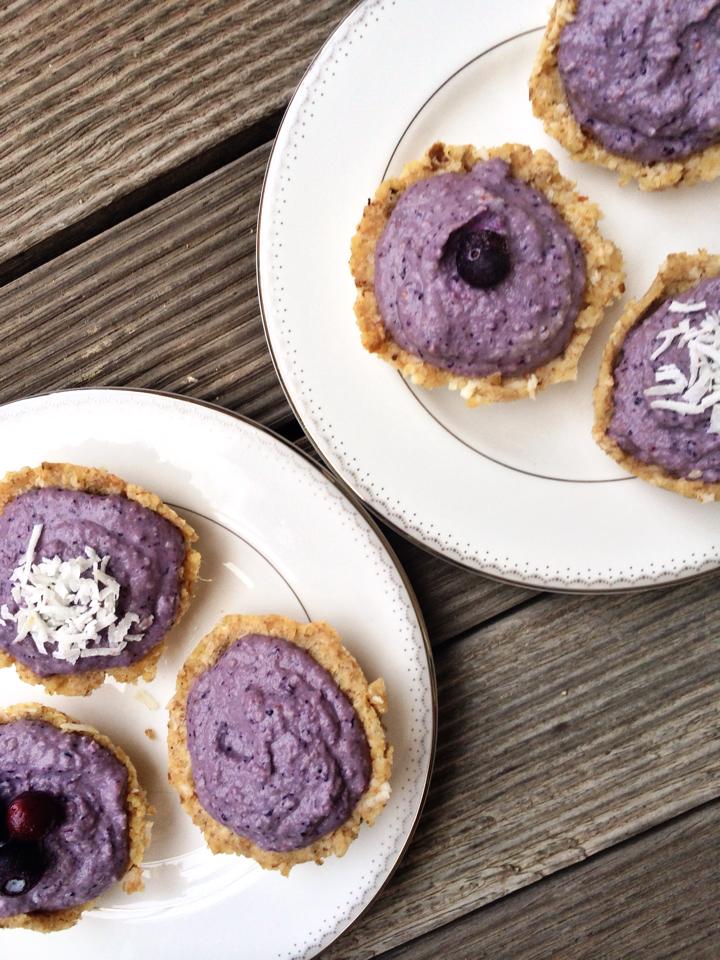
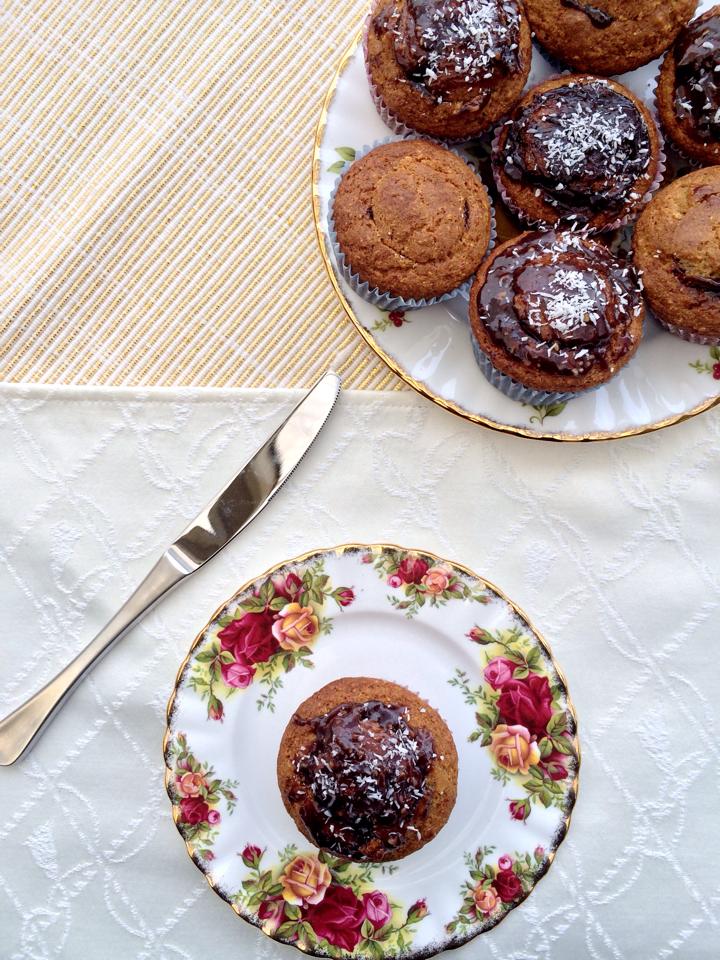
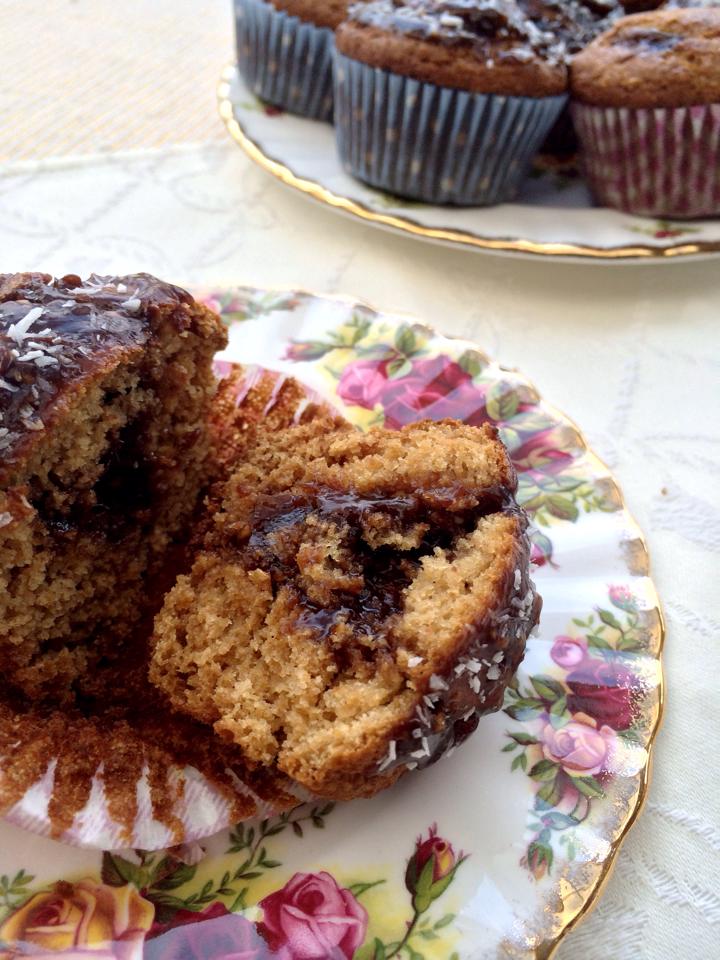
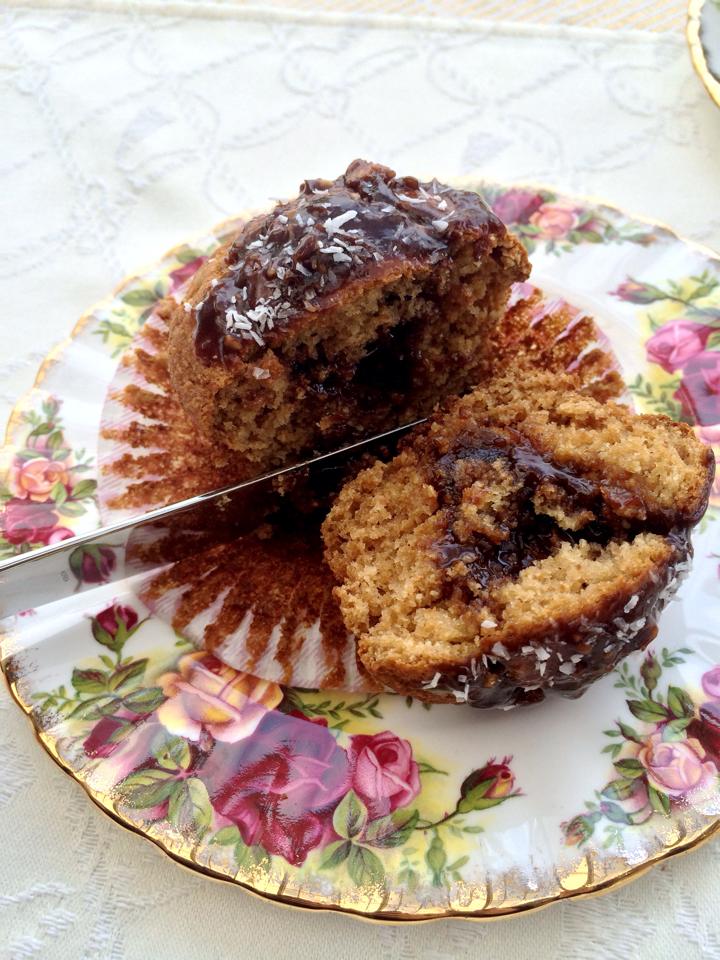
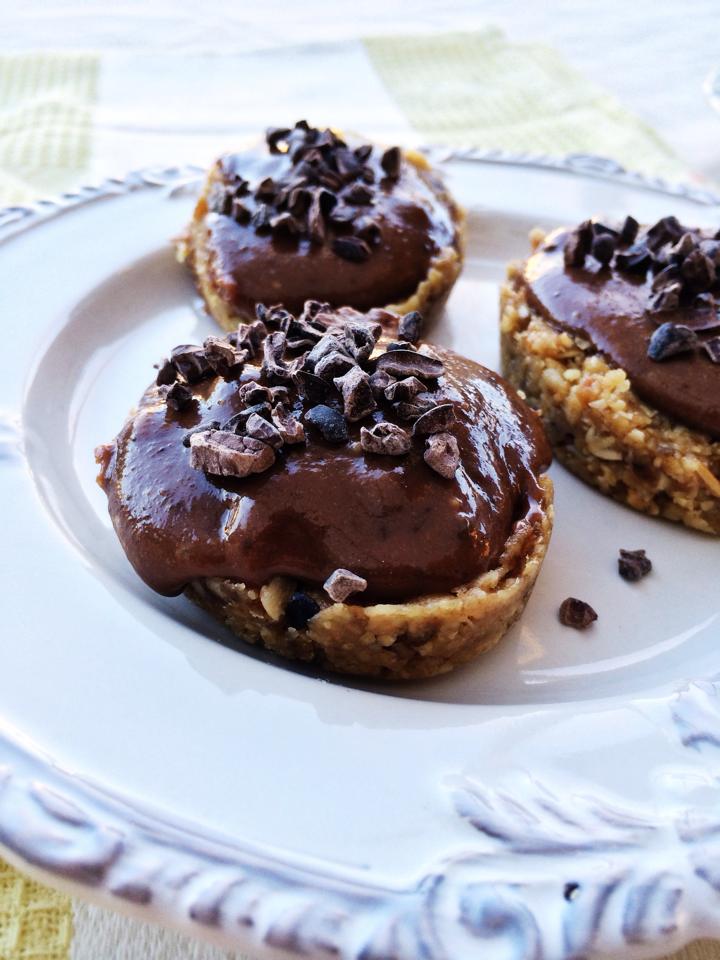
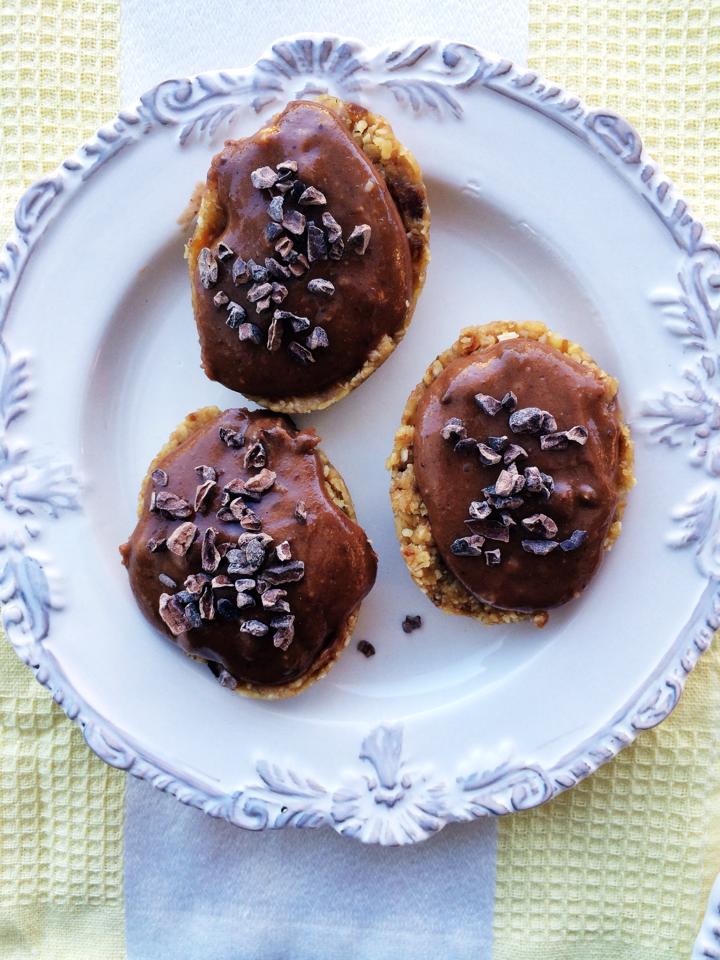
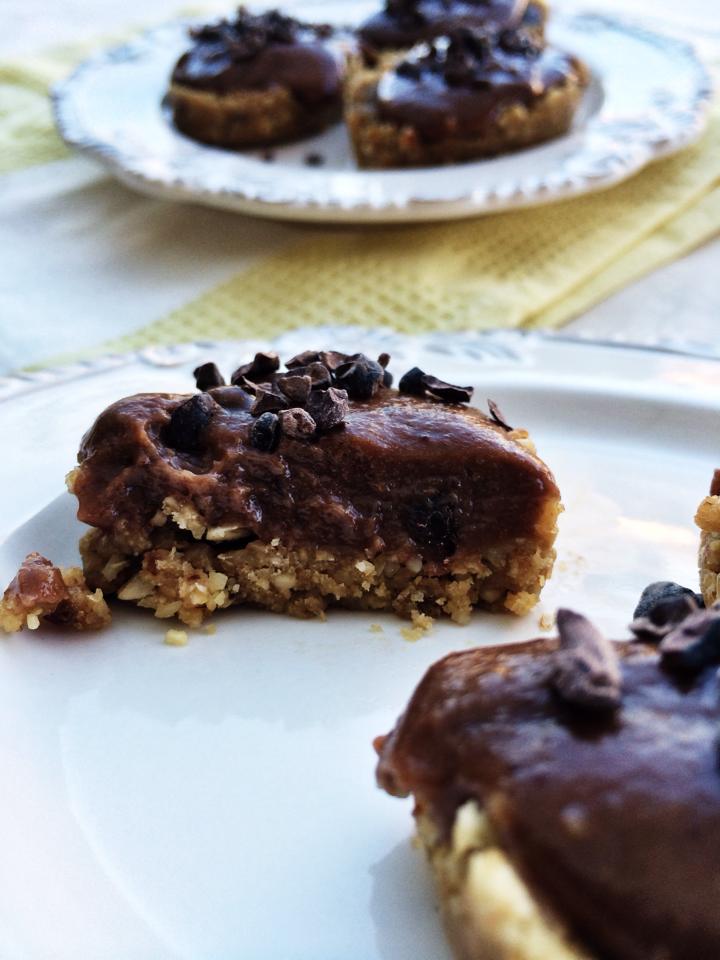
Oh goodness. Life has unfortunately taken over these past few weeks so I apologise for my lack of yummy recipes, however my newest creation will make up for it! There’s really no better team than chocolate & peanut butter. One of my favourite all time recipes is Chocolate & Peanut Butter Bars (in the ‘Recipes’ page) so to combine lush chocolate mousse over a delicious peanut butter base is quite genius… if I may say so myself.

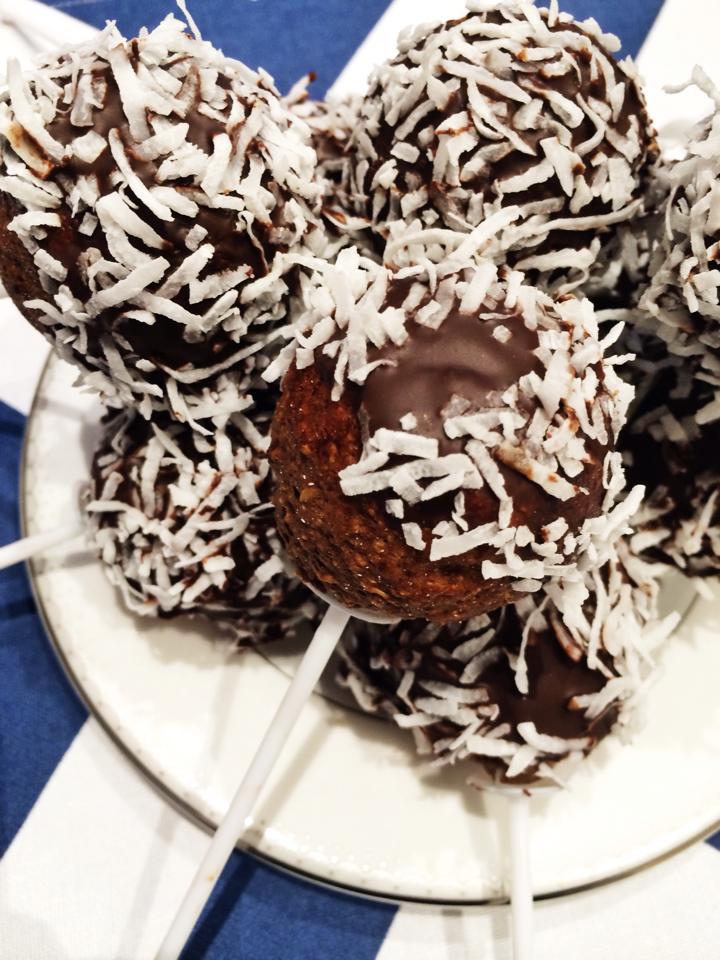
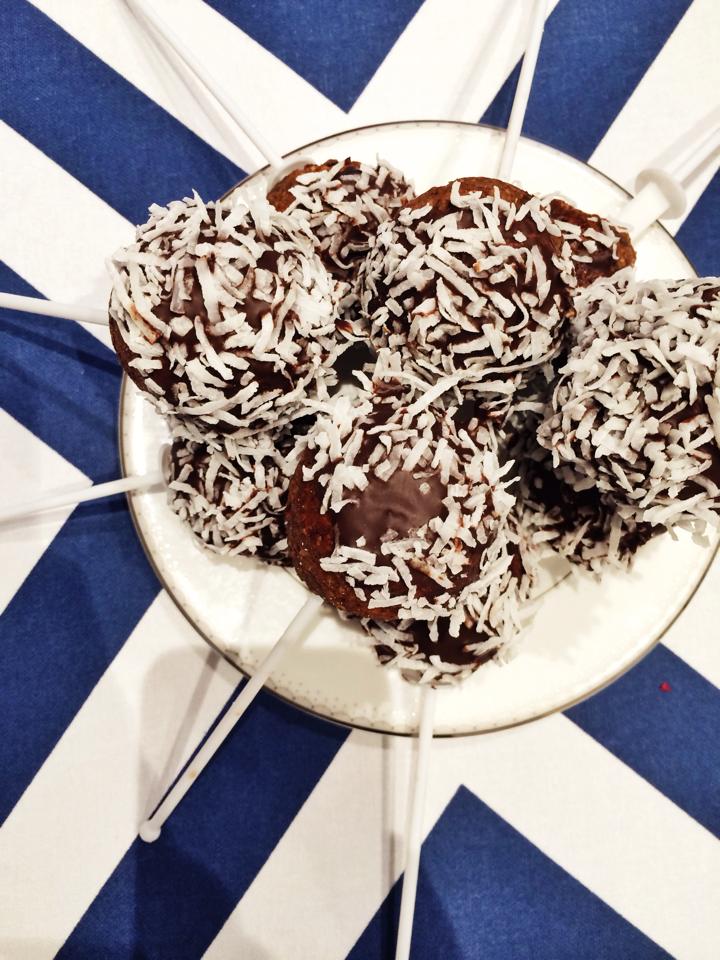
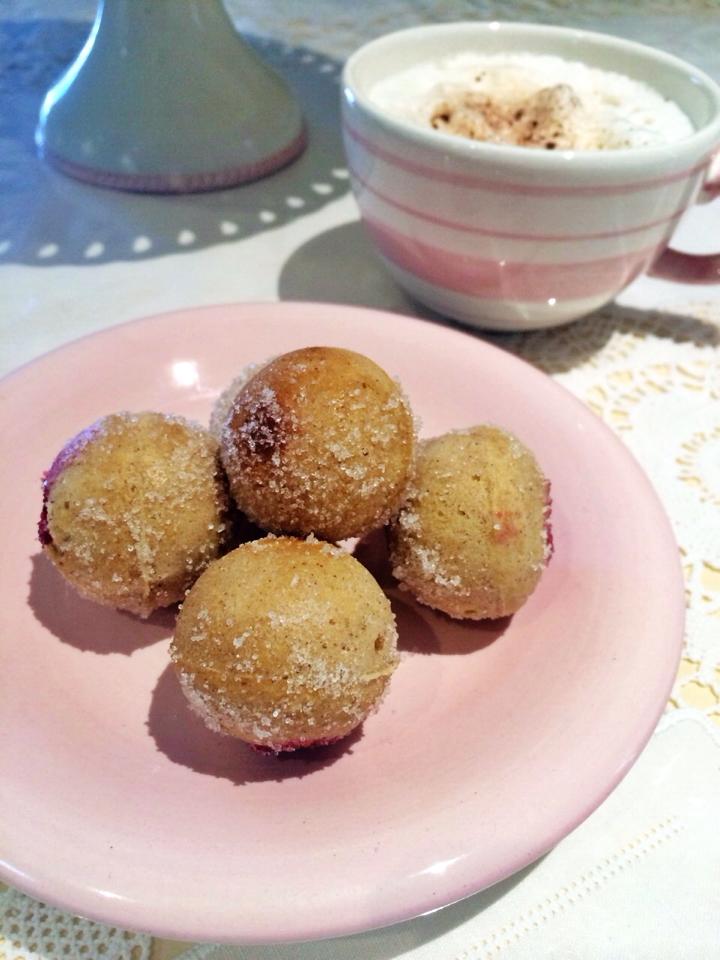
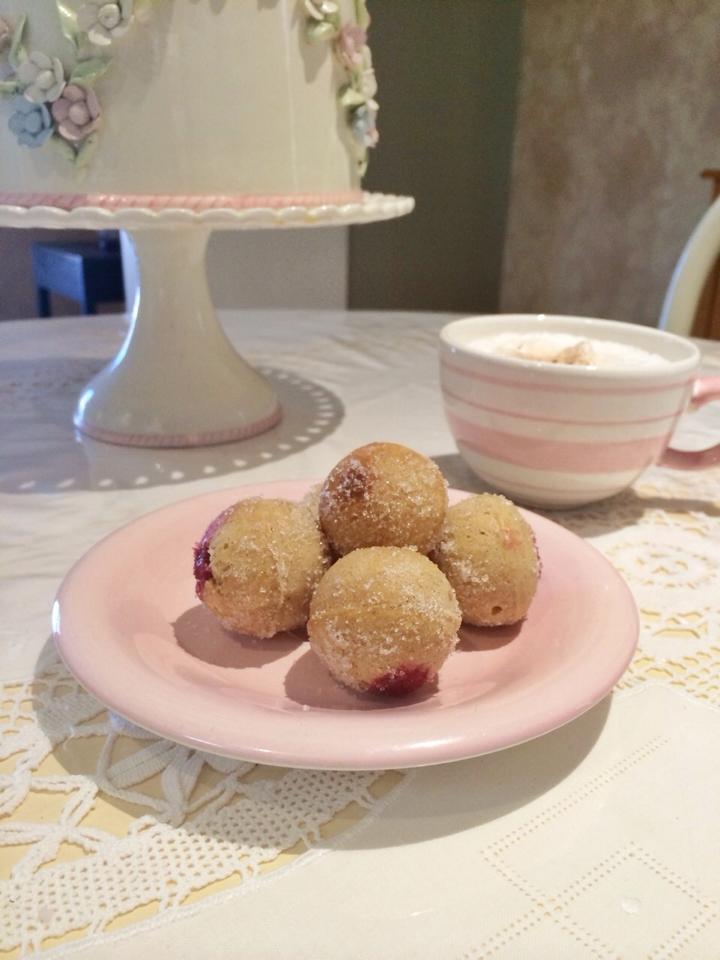
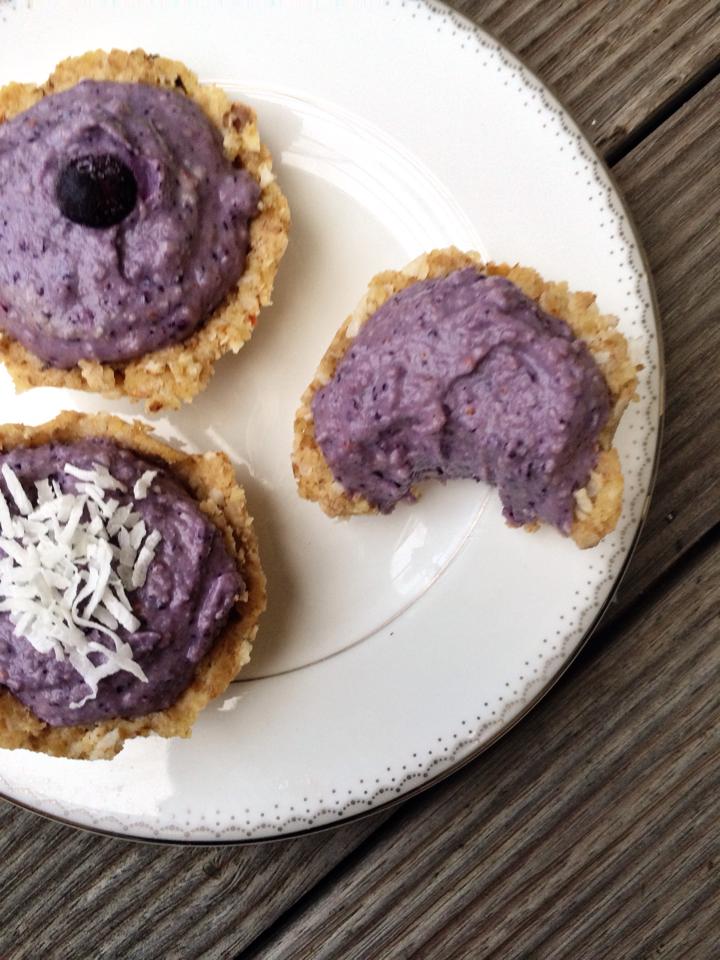
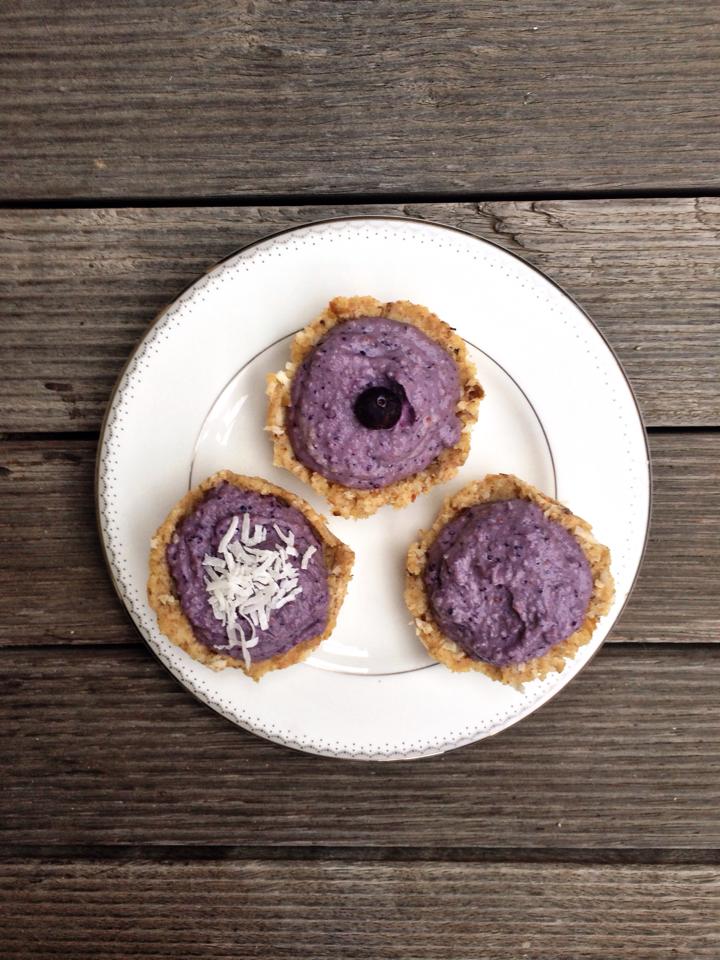
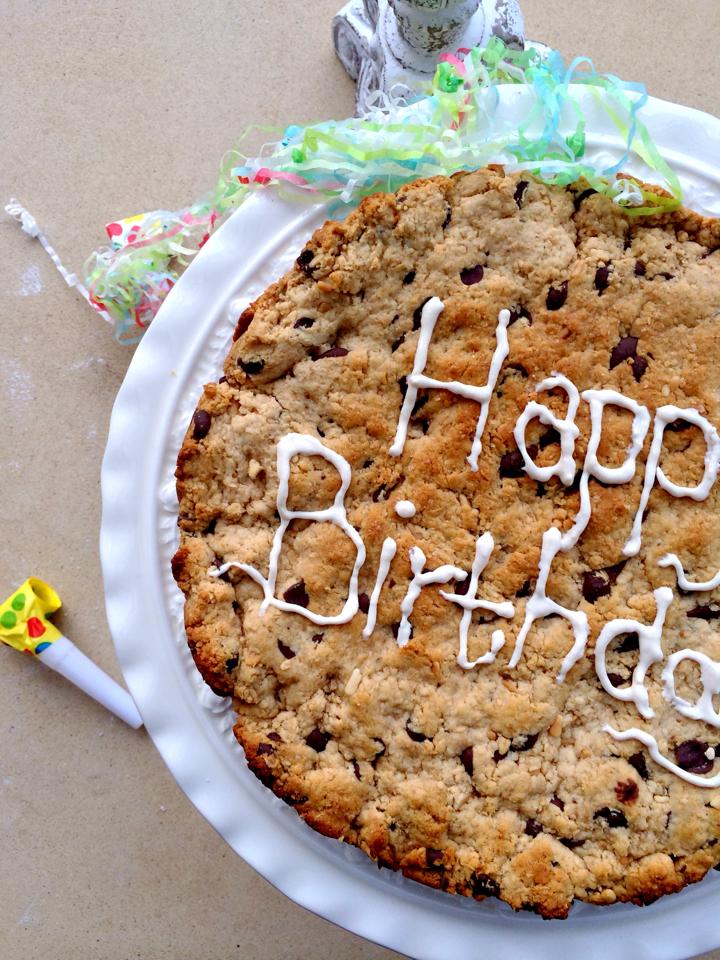
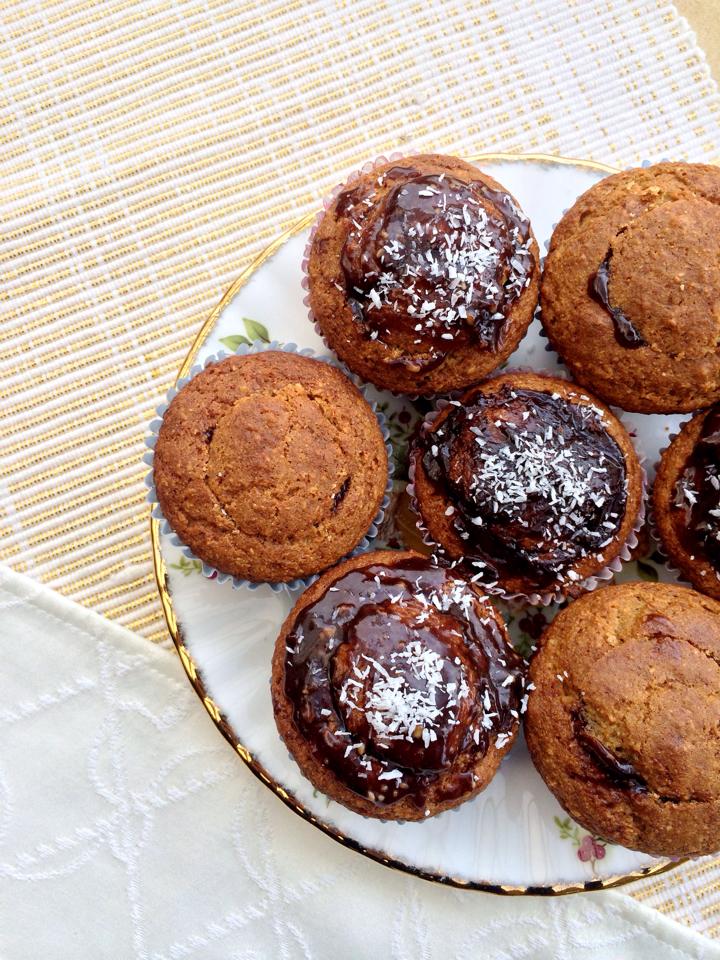
This great-sized dessert is sweet enough to be misunderstood as ‘a sugary treat’, pretty enough to be presented at your friend’s high tea party, and healthy enough to feel guilt free about feeding yourself a few in one go… enjoy!

10412026_10152794064184388_9005149812315497304_n

10534499_10152794063839388_6133144738144295559_n


INGREDIENTS

Peanut Butter Base:                                                  Chocolate Mousse:

1 cup walnuts                                                             ½ cup rice malt syrup

7 pitted dates                                                            ½ cup cashews

¾ cup desiccated coconut                                     1 tbls cacao

1 tbls rice malt                                                           vegan chocolate chips

1 1/2 heaped tbls peanut butter                            or sugar free dark choc

Pinch of salt                                                            A splash of almond milk


METHOD

For base:

  • Soak dates in hot water for 2-3 minutes.
  • Process walnuts until fine and then add dates.  Add remaining ingredients and process thoroughly until mixture sticks together.
  • Spray a small cupcake pan with baking spray and place mixture in evenly about ¼ of the length while pressing down with a spoon. Place in freezer while you prepare the chocolate mousse.


For chocolate mousse:

  • Place all ingredients in blender and blend until there are no chunks of cashews left in the mousse.
  • Taste and add water if mousse needs a creamier texture or add extra rice malt syrup if you want the mousse a little sweeter.
  • Pour the mousse over the base evenly and pop in the freezer for around 2 hours.
  • Remove from freezer and sprinkle cacao nibs to decorate and serve!

10710986_10152794063929388_114526754472201846_n

Mint Chocolate Chip Cookie Dough Balls

10649538_10152763905029388_1659684522196094809_n

These images were quite a struggle to take. Firstly, I made 2 batches of these mint chocolate cookie dough balls and they disappeared in record time before I had a chance to style them beautifully for the blog. Once my sister and my friend and I got our hands on these, it was safe to say we weren’t going to stop until not even one was left visible on the plate. Need I say more?

Batch number 3 was a little more successful and I managed to capture a few photos before stuffing each one into my mouth immediately. Peppermint and chocolate has always been a favourite combination of mine, but the soft yet firm minty texture with a chocolate chip crunch makes these incredibly irresistible and I urge you to try them now! They may not even make it into the freezer to set – you have been warned. Enjoy 😉

10516848_10152763904939388_5106658675077992827_n

1520810_10152763904724388_5886990438262399915_n

INGREDIENTS

1 cup walnuts

7 pitted dates

1 cup coconut

2 tsp peppermint essence

2 tbls rice malt syrup

Dark chocolate chips or vegan chocolate chips

A drop of green food colouring


METHOD

  • Soak dates in hot water for 2-3 minutes.
  • Process walnuts until fine and then add dates.  Add remaining ingredients except chocolate chips and process well until mixture sticks together.
  • Add chocolate chips and stir through mixture lightly.
  • Spray a small baking pan with baking spray and roll mixture evenly into round balls with your hands. Place in the freezer for around 1-2 hours and enjoy! Store in fridge to keep them fresh.


*serves 12

10616418_10152763904969388_1251443566963642143_n


Double Choc Orange Cupcakes

10151789_10152741974554388_6103398017907360816_n

There’s nothing I love more than the smell of summer. It may be the final day of winter here in Melbourne – but I have been waiting eagerly for the warmer season to be upon us (thanks to small teases of sunshine in the city) and wanted to express my excitement with a fruity twist to a delicious little treat.

These gorgeous cupcakes not only provide a double chocolate hit, but also a hint of fresh orange zest to remind you of the sunnier season. I used vegan chocolate chips (available at Coles) throughout the mixture; however dark chocolate chips also work. Decorate with multi-coloured accessories for a true summer treat and enjoy!

10389191_10152741973974388_7751622618888809403_n

10524693_10152741973904388_2528828261107007693_n

INGREDIENTS
2 cups Whole-grain flour or flour of choice

½ cup Vegan Chocolate Chips

3 tbls cacao

1 tbls Natvia

3 tsp baking powder

1 tsp baking soda

2 eggs

1 tsp vanilla essence

¾ cup almond milk

¾ cup rice malt syrup

1 large orange for

¼ cup orange juice

3 tbs orange zest


METHOD

    • Preheat oven to 170°C and place each cupcake baking cup in muffin pan
    • In a large bowl mix the flour with baking powder, baking soda, cacao and Natvia.
    • Add almond milk and eggs to mixture in alternating batches mixing lightly.
    • In a separate bowl add orange zest, orange juice, rice malt syrup and vanilla and combine well before adding to mixture.
    • Mix through vegan chocolate chips and pour mixture into each cupcake baking cup with a sprinkle of chocolate chips on top for decoration.

*Serves 15

10615634_10152741974269388_6723243765575985520_n

Chia, Banana & Walnut Loaf with Banana Cream

10599439_10152713885434388_3869963977602368330_n

There’s always an excuse for cake. But one with chia seeds, banana and walnuts? Well gee, you could just eat it whole and call it a day. With great nutritional benefits, there’s nothing to feel guilty about when consuming this moist loaf.

Combined with the natural sweetness from bananas, the team of flavours work wonderfully together with crunchy chia seeds mixed through the batter for the ideal ‘banana bread’ substitution.

Chia, Banana and Walnut loaf is not only delicious, but also beautifully presented with banana cream smeared over the surface and walnuts to decorate. Whether you want to create a healthy treat for yourself or impress your friends at a dinner party, this loaf will be sure to excite your palate – enjoy!

10524615_10152713885249388_2584740385604753490_n

10614410_10152713885579388_825519408237149554_n

INGREDIENTS

2 cups wholemeal flour (or flour of choice)

1 ¼ cup almond milk

2 eggs

3 teaspoons baking powder

1 teaspoon baking soda

2 bananas mashed

½ cup rice malt syrup

½ cup Natvia Sweetener (or an extra ½ cup rice malt syrup)

½ cup chia seeds

1 tsp vanilla bean paste

½ cup chopped walnuts


Banana cream decoration:

½ banana

4 tablespoons almond milk

½ cup cashews

Yellow food colouring (optional)

1 tablespoon Natvia Sweetener or rice malt syrup

Walnuts


METHOD

  • Preheat oven to 180°C and line a rectangular baking pan with baking paper.
  • In a large bowl mix the flour with chia seeds, baking powder, baking soda, and Natvia.
  • Add almond milk and eggs to mixture in alternating batches mixing lightly.
  • Add mashed bananas, rice malt syrup and vanilla to mixture and combine well. Mix through walnuts very lightly.
  • Pour mixture into baking pan and place in oven for around 40 – 45 minutes and let cool while you prepare banana cream.
  • Place all banana cream ingredients except walnuts in blender until a creamy texture is formed and smear over the top of the cake.
  • Decorate with walnuts, slice and enjoy!

*Serves 20

10366046_10152713885034388_6270138185697420602_n

Chocolate Lamington Cake Pops

10329263_10152702615604388_8288537840830552180_nCake pops seem to be the new craze – and I can see why. A small, appropriate serving of cake (if you stop at one, that is) deliciously decorated with an array of colourful and creative ingredients. There’s nothing not to love about these tiny pops of cake.

Lamington cake is one of my favourites, and when I was creating this recipe I came up with the idea to drizzle the cake pops in decadent chocolate with a sprinkle of shredded coconut inspired by luscious lamingtons. I melted pure dark chocolate, however you could also melt vegan chocolate or make your own with coconut oil, rice malt syrup and cacao in a blender. For Mothers – your kids will love these – trust me!

Cake pop pans are easily accessible from Kmart (if you’re in Australia) and you can pick one up for $10. Get creative and enjoy this healthy treat!

1463399_10152702615954388_3199900141202929358_n

10612715_10152702615819388_7395191943268626372_n


INGREDIENTS:

2 cups wholemeal flour

¼ cup cacao nibs

3 teaspoons baking powder

1 teaspon baking soda

1/4 teaspoon salt

1 tablespoon cacao

4 eggs

1 teaspoon vanilla essence

2 tablespoons coconut oil

1 cup rice malt syrup

2 tablespoons unsweetened almond milk

Shredded coconut

Pure dark chocolate or vegan chocolate to decorate


METHOD

  • Preheat oven to 190°C and spray cake pop pan with baking spray.
  • In a large mixing bowl, whisk together the flour, cacao nibs, cacao, baking soda, baking powder and salt and set aside.
  • In a separate bowl, combine the eggs, almond milk, rice malt syrup, vanilla and melted coconut oil and mix well.
  • Pour the liquid into the flour, and mix until just combined well.
  • Spoon the batter evenly into your cake pop pan and bake for 10-12 minutes. Once cooled, place cake pop sticks in the middle of each individual cake pop.
  • Melt chocolate and dip each pop until ¾ covered in chocolate and then roll in shredded coconut. Repeat for each one, place in fridge for 30 minutes and enjoy!

*Makes 30 cake tops

10325523_10152702625024388_4958824308749692923_n

Raspberry Jam Donuts

10592958_10152681874574388_3399944683905445380_n

There’s nothing more delicious than taking the first bite into a warm, sugar-coated jam donut. As your teeth bite into the soft centre, your tongue is delighted with a sweet, berry taste and suddenly the donut becomes a whole lot better.

I mean really, who doesn’t love donuts?! So many of my childhood memories are eating mini cinnamon donuts at Donut King; although I have barely touched them through my adulthood.

The thought of eating a donut that tastes like a donut, has the same texture as a donut, and is much healthier than a donut makes me very excited. There’s two ways you can make these gorgeous creations; you can buy a cake pop maker ($2 from Kmart) which gives them that fluffy round shape, or you can bake them in the oven in a muffin pan – the choice is yours. Either way, you won’t be able to stop eating these, trust me!

10557287_10152681874439388_3360432793220392956_n

10368265_10152681874479388_6641248280564306673_n


INGREDIENTS:

Donuts:

2 cups wholemeal flour

3 teaspoons baking powder

1 teaspon baking soda

1/4 teaspoon salt

3 eggs

2 teaspoons cinnamon

2 tablespoons coconut oil

3/4 cup rice malt syrup

2 tablespoons unsweetened almond milk

For decoration: Natvia Natural Sweetener


Raspberry Jam:

1 packet frozen raspberries

1 teaspoon cinnamon

2 tablespoons rice malt syrup

1 tablespoon coconut oil


METHOD

For donuts:

  • Preheat oven to 190°C if using oven.
  • In a large mixing bowl, whisk together the flour, baking soda and salt and set aside.
  • In a separate bowl, combine the rest of your ingredients and mix well.
  • Pour the liquid into the flour, and mix until just combined well.
  • Spoon the batter into your cake top maker or spray a muffin pan and bake for 10-12 minutes. Let cool while you prepare the jam.

For raspberry jam:

  • In a small pot on low heat, add all ingredients and stir through slowly. You may also let simmer for 5 – 10 minutes.
  • When the raspberries have cooked and jam is hot, turn of the heat and let sit for 5 minutes.
  • If the jam is not thick enough you can drain the excess liquid out slowly.
  • Spoon the jam into the piping bag and pierce through sides of each donut so the jam is in the centre.
  • Roll each donut in Natvia and they’re ready to be served – enjoy!

*Makes 40 cake tops and 12 muffins

10568931_10152681874369388_7881683714849283235_n

Blueberry Tarts

10492541_10152658700139388_84798012727514580_n

I know it’s a little early to get excited – but it is starting to feel like Spring is amongst us in Melbourne and I wanted to celebrate this much anticipated weather by creating something fruity and colourful. Unfortunately the sunnier season is still a month away, but this lovely creation will make you feel as though a tiny piece of summer has returned.

These gorgeous blueberry tarts are vibrant, easy to make and most importantly – they taste divine. Totally clean and healthy, these treats are great to serve to guests for afternoon tea – enjoy!

10543608_10152658700319388_3330440438621691000_n

1174893_10152658700504388_6484635476675221726_n

Tart Base:

1 cup walnuts

½ cup desiccated coconut

6 pitted dates

1 tbls rice malt syrup


Blueberry Filling:

1 cup soaked cashews (for 10-15 minutes)

1 tbls coconut sugar

¼ cup desiccated coconut

1/2 cup rice malt syrup

¼ cup water

5 pitted dates

½ cup blueberries


METHOD:

For base:

  • Spray a cupcake pan with baking spray.
  • Soak dates for 5 minutes in hot water and process walnuts until fine.
  • Add all other ingredients and process.
  • Press mixture down evenly into cupcake tray leaving a well for the cream in each one, and pop in the freezer while you prepare the cream.


For blueberry filling:

  • Blend soaked cashews with water until a creamy texture is formed.
  • Add remaining ingredients and blend well, the blueberries will form a rich purple colour.
  • Pour the filling evenly into each tart and pop in the freezer for 1-2 hours. Decorate with fresh blueberries on top and shredded coconut. Enjoy!


*Serves 12


10540397_10152658700379388_7443843006981456608_n


Chocolate Cookie Cake

10538513_10152648382204388_8000127890772268049_n


Earlier this year, my best friend made me a gorgeous cookie cake for my birthday that read ‘Happy Birthay.’ Spelling mistake aside (sorry Re), this was a thoughtful and delicious way to make my day extra special and I decided to recreate the cake in a clean version, of course.

This recipe is exactly the same as my Clean Peanut Butter and Chocolate Cookies recipe only with a different oven temperature and baking time. Super easy to make and a great idea for a special occasion – surprise a loved one with this healthy treat!

10305953_10152648382914388_6931190507716028202_n

10488159_10152648381769388_388078377907409878_n


INGREDIENTS

2 cups whole-wheat or wholemeal flour

½ cup coconut oil

½ cup rice malt syrup

¼ cup almond milk

2 ½ tbls natural peanut butter

1 tsp vanilla extract

1 tsp baking powder

1 tsp baking soda

½ tsp salt

1 cup dark chocolate chips or vegan chocolate chips


METHOD

  • Preheat oven to 170°C and line a circular cake baking tray.
  • In a mixer or large bowl, combine coconut oil and rice malt syrup, and then add almond milk and vanilla.
  • In a separate large bowl mix flour, baking powder, baking soda and salt together lightly and pour into mixer with peanut butter.
  • Mix thoroughly to a cookie-dough and fold through chocolate chips slowly.
  • Using your fingers, press down mixture evenly into baking pan.
  • Bake for 12 – 13 minutes, let cool and decorate!

10518655_10152648381584388_7523212868098548477_n

Nutella Filled Vanilla Bean Cupcakes

10400857_10152629754924388_3980002908702441180_n


There’s nothing quite like the first bite into a spongy vanilla cupcake. Kids beg their parents for one when they pass their local bakery. Adults treat themselves to one, maybe two at a time at a high tea with friends. Girls celebrate their birthdays with them frosted and displayed beautifully on a multiple tiered platter. The occasions for cupcakes are endless… but what if the centre of each vanilla cupcake was filled with soft, chocolaty Nutella? And it was healthy?

These Nutella Filled Vanilla Cupcakes really do taste too good to be true. You can fool any healthy-dessert hater with these tiny cakes. Frosted or not, the clean Nutella surprise in the centre leaves a rich contrasting chocolate taste against the subtle vanilla flavour. And it’s the closest thing to Nutella, need I say more?

I used Bare Blends Vanilla Bean Native WPI for the gorgeous vanilla taste. You can buy it online here: http://bareblends.com.au I also used organic coconut oil from Coconut Revolution, buy it online at: http://www.coconutrevolution.com.au/ Coconut Flour & Coconut Sugar can be purchased from a health food store. All other ingredients are available at your local grocery store.

10533852_10152629755444388_3689174181801106783_n

10540917_10152629755344388_1236205471249764278_n

INGREDIENTS

Cupcakes:

1 ½ cups whole meal or whole wheat flour

½ cup coconut flour

2 tsp baking soda

1 tsp baking powder

Pinch of salt

4 tbls Bare Blends Vanilla Bean Native WPI (link in description)

3 tbls coconut oil

½ cup almond milk

2 tbls coconut sugar

2 eggs (optional – if you prefer no eggs, add extra almond milk)

½ cup rice malt syrup


Nutella:

5 pitted dates

2 tbls coconut oil

2 tbls rice malt syrup

1 tbls hazelnut spread

1 tbls coconut sugar (optional)

2 tsp cacao

¼ cup water


For cupcakes:

  • Place oven on 180°C and line 12 paper cases in a cupcake pan.
  • In a mixer or large bowl, add flour, 3 tablespoons of Bare Blends and all dry ingredients and combine well.
  • In a separate bowl, add melted coconut oil and rice malt syrup and whisk together and add to flour. Use your hands to mix through the flour if you need to.
  • Add 1 tablespoon of bare blends to almond milk and stir lightly. In alternating batches, add milk and eggs to the mixture and combine well.
  • Scoop 1 tablespoon of mixture into each paper cupcake case and place in the oven for 20-25 minutes. Let cool while you make the Nutella filling.


For Nutella:

  • Add all ingredients in a small pot and place on low heat.
  • Stir all ingredients through lightly while mashing dates to form the Nutella.
  • When the dates are completely mashed into the liquid, turn off heat and put aside.
  • Cut a small circle in the middle of each cupcake and scoop a tablespoon of Nutella into the middle. Place the cupcake top over the Nutella and spread Nutella over the surface of the cupcake if you wish.
  • Heat in the microwave when serving for a warm treat – enjoy!

10516656_10152629755499388_2674308185613625275_n

Scones with Raspberry Jam and Coconut Cream

10492149_10152613441634388_229960033204658414_n

Recently I have been reminiscing quite a lot about high tea (totally normal for me to be dreaming about food) as I have visited the Langham High Tea twice in my 23 years of life and successfully consumed as much dessert into my belly as physically possible. Last year, my best friend and I surprised my other two best girlfriends with an unlimited high tea, and one of my favourite desserts with endless supply was scones. We must’ve asked the waiter at least 5 times to kindly replenish our beautiful three-tier dessert tray with more scones (with jam and cream of course) and this is my inspiration behind this latest clean treats creation.

Soft, sweet and indulgently delicious, these clean scones definitely do the trick whether you want to sneakily eat one with your coffee or invite your gal pals over for brunch. The home-made raspberry jam topped with the gorgeous coconut cream is a beautiful combination and can all be created in the privacy of your lovely kitchen.  No high teas needed – your tummy will thank you for it. Enjoy!

10511342_10152613440964388_8683768223178134640_n

10451173_10152613441474388_7372444010042169526_n


INGREDIENTS:

Scones:                                                                                           Raspberry Jam

3 cups flour of choice (I used wholemeal)                              1 packed frozen raspberries

5 tsp baking powder                                                                   1 tsp cinnamon

2 tsp ground cinnamon                                                             2 tbls rice malt syrup

½ cup coconut oil                                                                       ½ tbls honey

¾ cup almond milk                                                                     1 tbls coconut oil

1 egg


Coconut Cream:

1 cup cashews

½ cup desiccated coconut

5 pitted dates

2 tbls rice malt syrup

1 tbls coconut sugar

Water


METHOD:

For scones:

  • Preheat oven to 200°C and line a baking tray with baking paper.
  • In a large mixing bowl, add flour, baking powder and cinnamon and mix lightly.
  • Melt the coconut oil to room temperature (do not melt completely) and rub through flour with your hands thoroughly until the mixture becomes crumbly.
  • Add almond milk and egg to the mixture and combine well using your hands to form a dough (similar texture to cookie dough)
  • Using a sharp round pastry cutter or a knife, cut into the dough and pop each individual scone onto the baking tray. Pop in the oven for 12 minutes and let cool.


For Raspberry Jam:

  • Before you begin to make the jam you may soak the cashews in hot water to get ready to make the coconut cream.
  • In a small pot on low heat, add all ingredients and stir through slowly. You may also let simmer for 5 – 10 minutes.
  • When the raspberries have cooked and jam is hot, turn of the heat and let sit for 5 minutes.
  • If the jam is not thick enough you can drain the excess liquid out slowly and then place in a jar while you prepare the cream.


For Coconut Cream:

  • Add all ingredients in a blender and blend until a creamy texture is formed.
  • If cashews are not completely blended, keep adding small amounts of water.
  • Place cream in small ramekin and then you’re ready to serve your yummy scones! So so good.. mmm… enjoy!

10340135_10152613441214388_5223572956422549176_n